

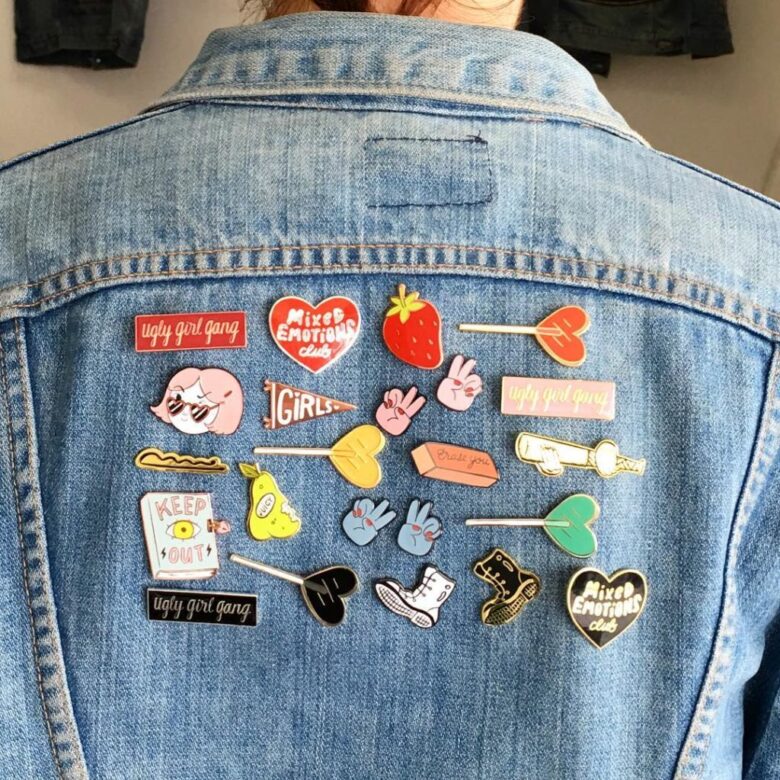
Enamel pins, a growing trend that keeps penetrating every aspect of life, is a powerful promotional tool that can also be used as an accessory to your jacket, backpack, and even your hat. Enamel pins are excellent in terms of expressing beliefs and characters that are most dear to us. These pins come in various designs that can be literary anything we want.
However, if you don’t have the time or you simply don’t want to design your own enamel pins, that’s perfectly fine! You can purchase pre-made designs from sites like myenamelpins which excel in making high-quality custom pins. They also provide their customers with professional designers to help you bring your vision to life. So, if you need help with the design, don’t hesitate to ask for it! Now. Let’s get back to the guide.
But to create an enamel pin, you need a design to go along with it. This article is the ultimate guide you need to designing enamel pins.
The Entire Process
Pre-creation is the first step towards designing custom made enamel pins. The pre-creation process involves brainstorming ideas that would make for great enamel pin designs.
Before we get into the more technical aspect of enamel pins, there are a few steps you need to cover that will take care of the whole design aspect.

Img source: advisor.ca
1. Determine The Design
You must have a clear idea of what you wish to put into the pin design. This is the hardest step in the entire enamel pin designing niche, and an inspiration that would help you would be to…
2. Draw the Design
The easiest and simplest way to come up with an enamel pin design is to grab a piece of paper, grab a pencil, and start drawing your design. Channel all of your thoughts onto the piece of paper before you send the design idea to your manufacturer.
According to www.EnamelPins.com, the simplified design is most preferred if you’re a beginner in the enamel pin designing industry. The pin size is usually between one and two inches, so you have to fit in the design around those parameters. Each line of the design should not overlap with the rest of the design. Whenever you’re designing, make sure to use less complicated details to make the entire process easier.

Img source: elearningindustry.com
Another pro tip we can give you is to use bold lines that can easily be translated to metal. Custom designing enamel pins is an art of its own, and one way to truly emphasize the design is to use bold lines and vivid colors that will instantly grab people’s attention.
In modern times, a lot of companies offer online services and tools for designing your own pins. In just a few steps, with easy user-friendly platforms available online you can make awesome designs for your custom pins. There’s plenty of design templates available on such websites. So don’t hesitate, start designing your pins now!
3. Follow Up The Drawings Onto a Digital Software
Digital design software is exactly what the name suggests. These are software such as Photoshop, GIMP, and Illustrator. But they can also come in the form of free digital design software that will do the job just fine. Digital design software is much better than hand drawing because you can instantly send the file to your enamel pin manufacturer and he will have it created for you.
4. Choose an Enamel Process
Img source: eyeondesign.aiga.org
There are six enamel processes that you can choose from, and those come in the form of:
- Soft enamel pins: the most popular and widely used option for beginners.
- Hard enamel pins: the most durable and rugged out of all enamel processes that are designed to last long.
- Sunblast pins: Made the same as the previous two mentioned, but with the more added sun blasting colors and backgrounds.
- Offset printed pins: These pins can be printed in a variety of complex colors and patterns.
- Antique pins: Just as the name suggests, antique pins are old-fashioned pins that appear darker in some areas.
- 3D cast or cut-out-pins: The pin itself has a 3D pattern and a 3D feel and look to it.


